
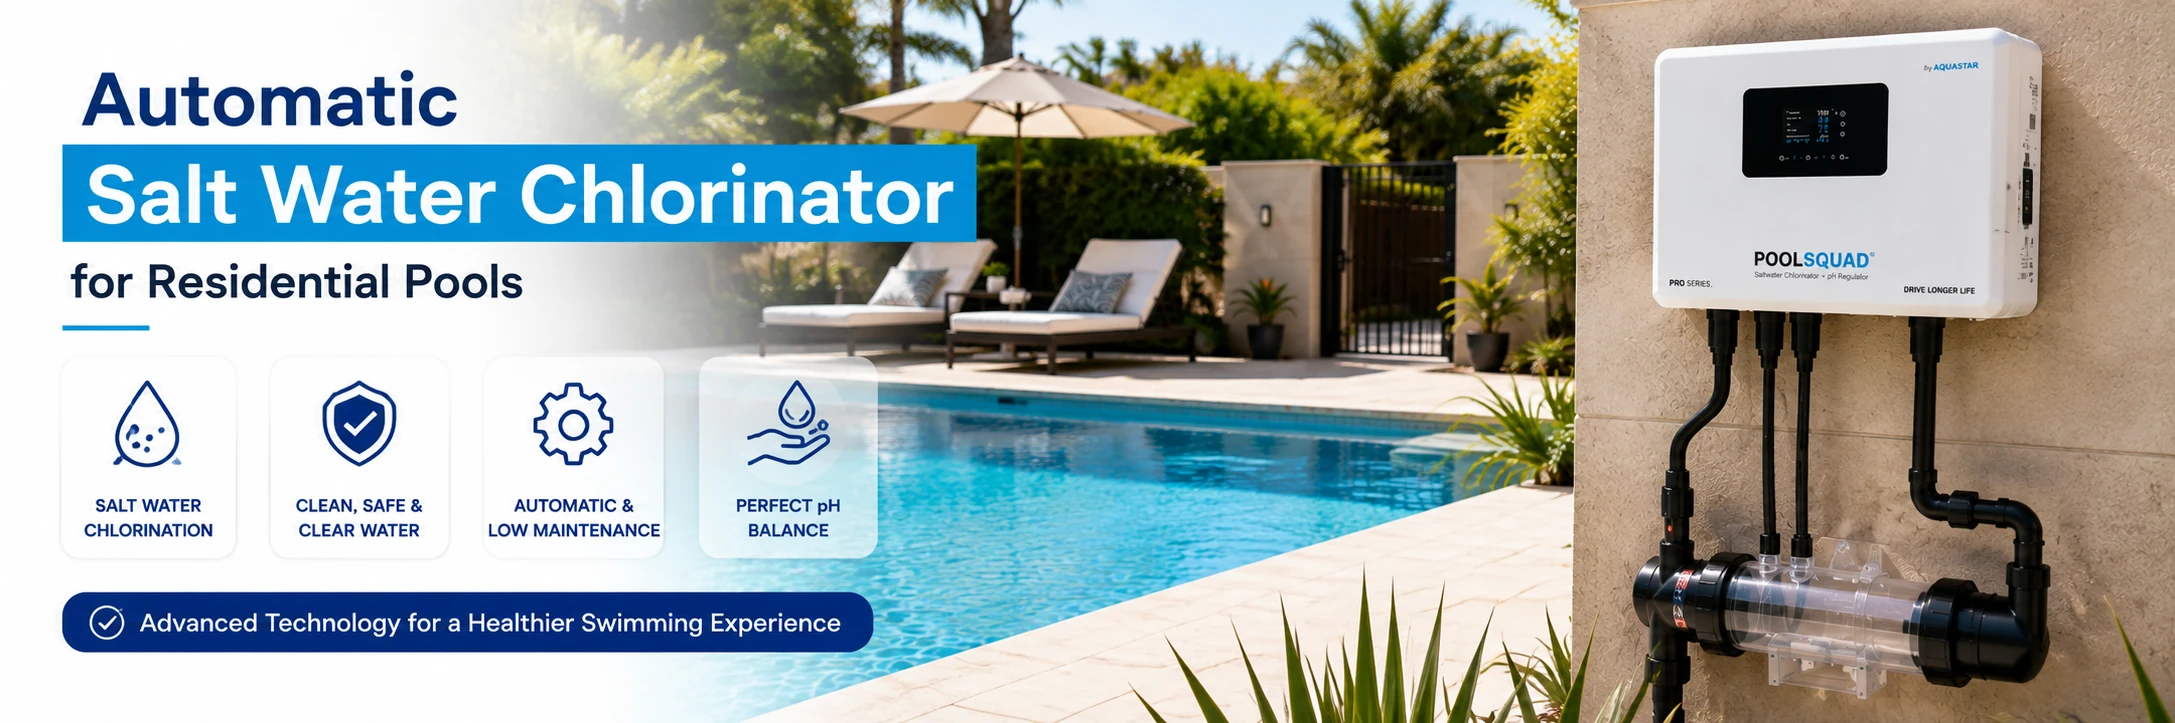
Imagine stepping out into your backyard on a warm, sunny afternoon, ready for a refreshing swim, only to be met by a sharp chemical smell and cloudy water. You grab your water testing kit, discover your free chlorine level has plunged to zero, and realize you need to haul heavy jugs of liquid bleach or dump dusty bags of chlorine shock into the pool. For decades, this demanding manual routine was accepted as an inescapable part of pool ownership. Today, thousands of homeowners are transforming their outdoor maintenance by upgrading to an automatic salt water chlorinator for residential pool sanitization.
Instead of buying, transporting, and manually dosing chemical chlorine every few days, an automated salt generator creates active chlorine continuously within your pool’s plumbing loop. By passing mildly salted water over electrically charged titanium plates, the system generates pure active sanitizer that keeps your water sparkling clear, gentle on your skin, and inviting all season long. Whether you are building a brand-new backyard retreat or upgrading an existing filtration setup, understanding how an automated salt chlorinator works will help you achieve clean water with minimal hassle.
An automatic salt chlorinator—frequently referred to as a salt chlorine generator—is an inline sanitization unit that produces active chlorine on demand using a continuous process called electrolysis. A widespread misconception among home pool owners is that a salt water pool is chemical-free or filled with water as salty as the ocean. In truth, a residential pool utilizing an automatic salt water chlorinator for residential pool care operates at a very low salinity level, usually maintaining a concentration between 3,000 and 4,000 parts per million. To put that into perspective, ocean water has a salinity of approximately 35,000 parts per million, while human tears sit around 9,000 parts per million. Consequently, salt water in a home pool tastes neutral and feels noticeably soft against your skin.
The primary function of an automatic salt generator is to eliminate the constant manual addition of factory-packaged chlorine products. The system creates hypochlorous acid—the exact same active sanitizing agent found in liquid bleach or chlorine pucks—right on site inside your plumbing lines. As the sanitizing agent circulates through your pool, it neutralizes bacteria, algae, and organic contaminants before reverting back into dissolved salt. Because the salt continuously recycles itself through this natural electrochemical loop, facility managers and homeowners rarely need to replenish it unless water is lost due to heavy splash-out, filter backwashing, or torrential rain.
Traditional chemical pool management requires delicate timing and frequent physical intervention. When you manually pour liquid chlorine or place trichlor pucks in a skimmer basket, chlorine levels spike sharply and then drop rapidly over the next few days. During peak summer heat or after a large family pool party, sanitizer levels can drop to zero before you notice, giving algae a chance to bloom rapidly.
An automated salt chlorination system solves this problem by producing a steady, predictable supply of sanitizer whenever your filtration pump operates. Rather than dealing with harsh chemical surges, your pool maintains a flat, stable level of active sanitizer. This constant baseline keeps your water clear without requiring you to store gallons of corrosive liquid or stacks of chemical tubs in your garage.
Furthermore, traditional chemical chlorine often leaves behind chemical byproducts known as chloramines. Chloramines form when free chlorine combines with swimmer waste like sweat, body oils, and cosmetics. They are the true culprit behind stinging red eyes, dry skin, bleached swimwear, and that overwhelming chemical smell often associated with public pools. As pool water recirculates through the high-energy electrolytic cell of a salt chlorinator, the electric arc breaks down chloramines continuously. The result is clean, odor-free water that leaves skin feeling smooth rather than dry and irritated.
Understanding the mechanics of an automated salt chlorination system does not require an engineering background. The system integrates smoothly into a pool’s existing equipment pad, consisting of three primary components: a wall-mounted power controller, an inline electrolytic titanium cell, and a mechanical safety flow switch.
The process begins when you dissolve pure pool-grade salt into the main body of pool water. As your filtration pump operates, it pulls water from the skimmer and main drain, pushing it through the filter to catch dirt, leaves, and fine debris. Next, the clean water flows through any installed heating equipment such as a gas heater or heat pump. Finally, the water passes through the electrolytic cell housing before returning to the pool through the wall return jets.
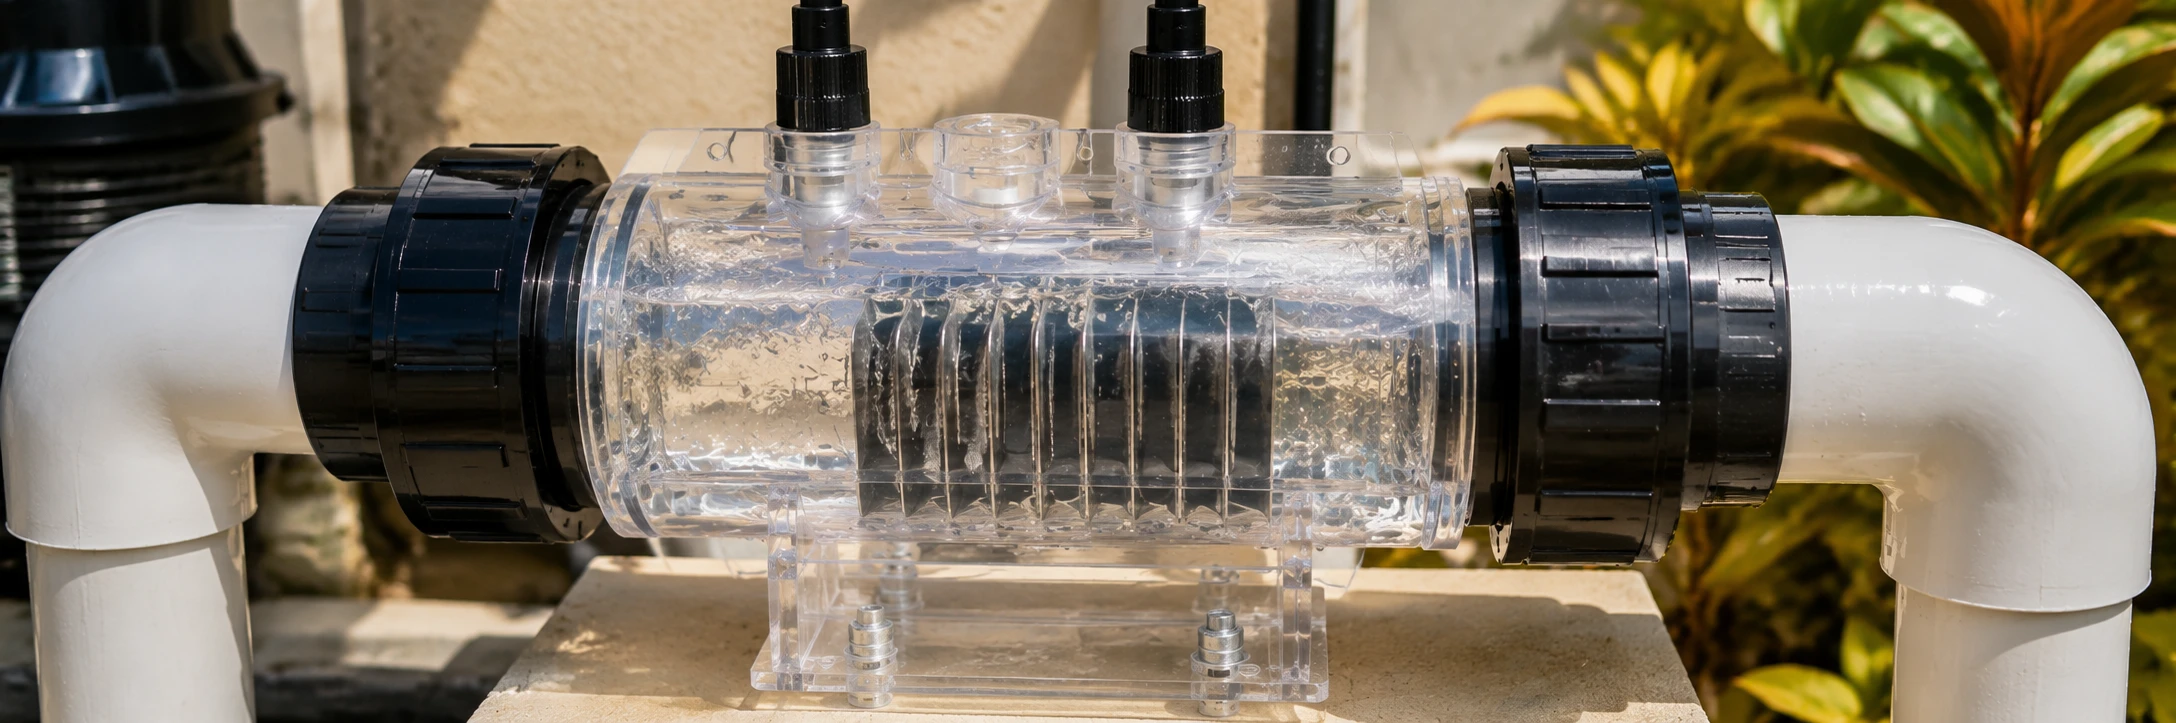
Inside the housing of the salt cell, multiple parallel titanium plates receive a safe, low-voltage electric current from the wall controller. As the salted water passes across these electrified plates, the low voltage splits dissolved sodium chloride and water molecules apart. This reaction instantly creates hypochlorous acid, which enters the pool through the return jets to sanitize the water. Once the hypochlorous acid finishes destroying algae and bacteria, it transforms back into dissolved salt, ready to repeat the process during the next pump cycle.
Choosing the correct capacity is one of the most critical steps when buying an automatic salt water chlorinator for residential pool applications. Chlorinators are rated by the maximum number of gallons they can treat, such as 15,000, 25,000, or 40,000 gallons. A common mistake among homeowners is purchasing a chlorinator rated for their exact pool volume. For example, installing a 20,000-gallon capacity cell on a 20,000-gallon pool means the unit will have to run at 100% power output for long hours during hot weather to meet sanitization demand.
A helpful guideline used by experienced pool builders is the 1.5x capacity rule. You should select a salt generator that is rated for at least 1.5 times the actual volume of your pool. If your home swimming pool holds 18,000 gallons of water, you should opt for a chlorinator rated for 25,000 to 30,000 gallons.
Oversizing the unit allows you to run the chlorinator at a lower output setting, such as 40% or 50% capacity, under normal conditions. Running the equipment at lower output significantly extends the overall operational life of the titanium plates, saves electricity, and provides reserve capacity when you host pool parties or face sudden heatwaves.
Installing an automatic salt water chlorinator for residential pool plumbing requires placing each piece of equipment in a precise sequence. Each component must perform its task in a specific order to protect the rest of your equipment pad from premature wear or damage.
The circulation line always begins at the pool intake points, drawing water through the main drains and surface skimmers. The pool pump provides suction to move this water forward into the filtration tank, where sand, cartridge, or DE media traps physical debris. After exiting the filter, the clean water flows through your gas heater, heat pump, or solar heating array. If your setup includes an automated acid feeder or chemical dosing pump to manage water balance, that injection point comes after the heating equipment.
The electrolytic salt cell must always be installed as the absolute last component on the return line before water flows back into the pool. Placing the salt cell after all heaters and pumps is vital because the cell generates a highly concentrated stream of sanitizer right at its outlet. If a salt cell were placed before a gas heater, that concentrated chlorine stream would pass directly through the heater’s internal copper heat exchanger, causing severe metallic corrosion and premature heater failure. Installing the cell downstream guarantees that concentrated chlorine is diluted immediately as it mixes into the main body of pool water.
Additionally, installing a physical mechanical flow switch directly ahead of the salt cell is an essential safety measure. The flow switch monitors physical water movement inside the PVC pipe. If your filter pump stops running or loses prime, the flow switch senses the loss of movement and cuts electrical power to the salt cell instantly. This prevents chlorine gas from building up inside closed PVC pipes, keeping your equipment pad safe.
When evaluating different residential salt generators on the market, several technical features stand out in terms of daily convenience, equipment longevity, and ease of use.
Mineral scale—primarily calcium carbonate—naturally deposits onto electrified titanium plates over time, particularly in areas with hard tap water. Modern residential chlorinators include self-cleaning technology that periodically reverses the direction of the electrical current across the plates. Reversing polarity causes thin layers of mineral crust to flake off automatically, flowing harmlessly into the pool water. This feature dramatically reduces how often you need to dismantle and manually clean the cell.
Mineral scale—primarily calcium carbonate—naturally deposits onto electrified titanium plates over time, particularly in areas with hard tap water. Modern residential chlorinators include self-cleaning technology that periodically reverses the direction of the electrical current across the plates. Reversing polarity causes thin layers of mineral crust to flake off automatically, flowing harmlessly into the pool water. This feature dramatically reduces how often you need to dismantle and manually clean the cell.
If you use an energy-efficient variable-speed pump that runs at low speeds for extended periods to save electricity, ensure the chlorinator cell can operate reliably under low flow rates. High-quality salt cells feature sensitive flow switches designed to register lower flow volumes without triggering false error codes or shutting down prematurely.
While an automated salt chlorine generator automates daily sanitizer production, maintaining balanced overall water chemistry remains essential. Salt water systems do not eliminate water testing; rather, they streamline the chemical balancing process.
| Water Chemistry Parameter | Recommended Target Range | Primary Purpose in Salt Pools |
|---|---|---|
| Salinity | 3,000 – 4,000 ppm | Powers active chlorine generation. |
| Free Available Chlorine | 1.0 – 3.0 ppm | Sanitizes water and destroys bacteria. |
| pH Level | 7.2 – 7.6 | Prevents eye irritation and equipment corrosion. |
| Total Alkalinity | 80 – 120 ppm | Stabilizes pH balance against rapid swings. |
| Cyanuric Acid (CYA) | 30 – 50 ppm | Protects free chlorine from sunlight breakdown. |
| Calcium Hardness | 200 – 400 ppm | Protects pool plaster and prevents cell scaling. |
One natural operational characteristic of a salt chlorine generator is a tendency for the water’s pH level to drift upward over time. As the electrolytic cell converts salt into chlorine, it generates a small amount of sodium hydroxide as a byproduct, which slowly raises the pH of the pool water.
If your pH drifts above 7.8, the active chlorine in your pool becomes significantly less effective at destroying bacteria, and calcium scale can begin forming on your pool plaster and inside the salt cell. To manage pH drift, test your water weekly and add small, measured doses of liquid muriatic acid or dry acid as needed to keep your pH centered between 7.2 and 7.6.
Cyanuric acid acts as a sunblock for the chlorine in your pool. Unshielded chlorine is destroyed rapidly by sunlight; UV rays can break down up to 90% of free chlorine in an outdoor pool in just two hours. Maintaining cyanuric acid levels between 30 and 50 parts per million ensures the chlorine generated by your salt cell remains active in the water long enough to perform its sanitizing job, reducing the workload on your equipment.
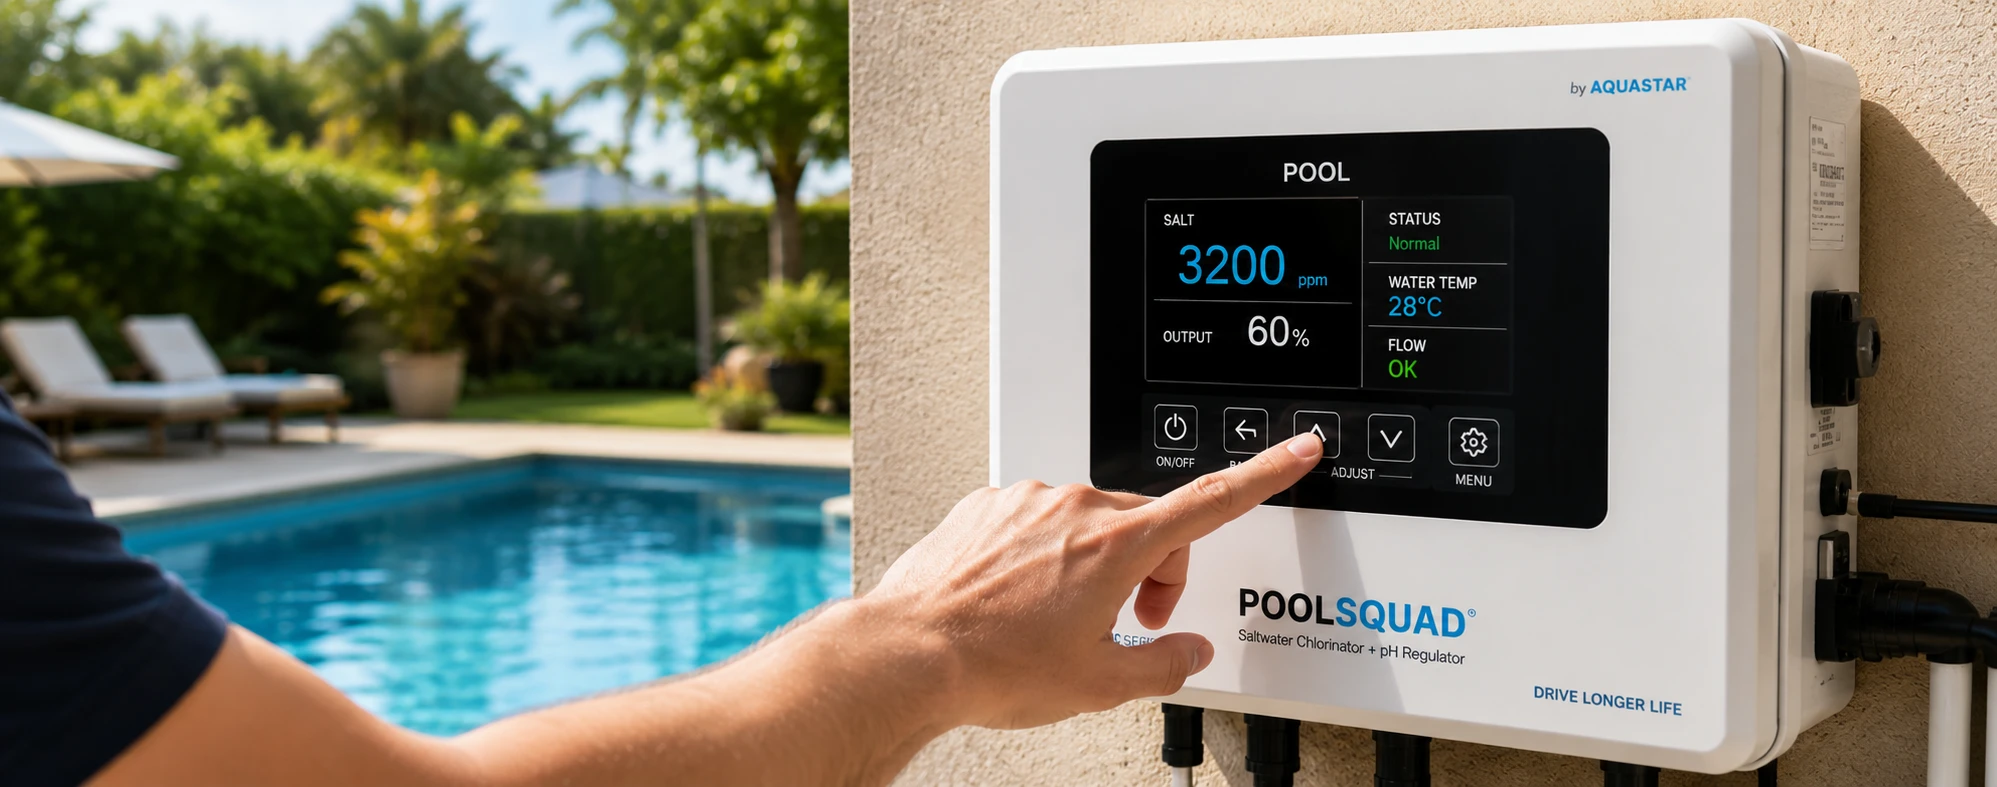
Adding salt to a home swimming pool is a simple task, but following the correct procedure protects your equipment from unnecessary stress.
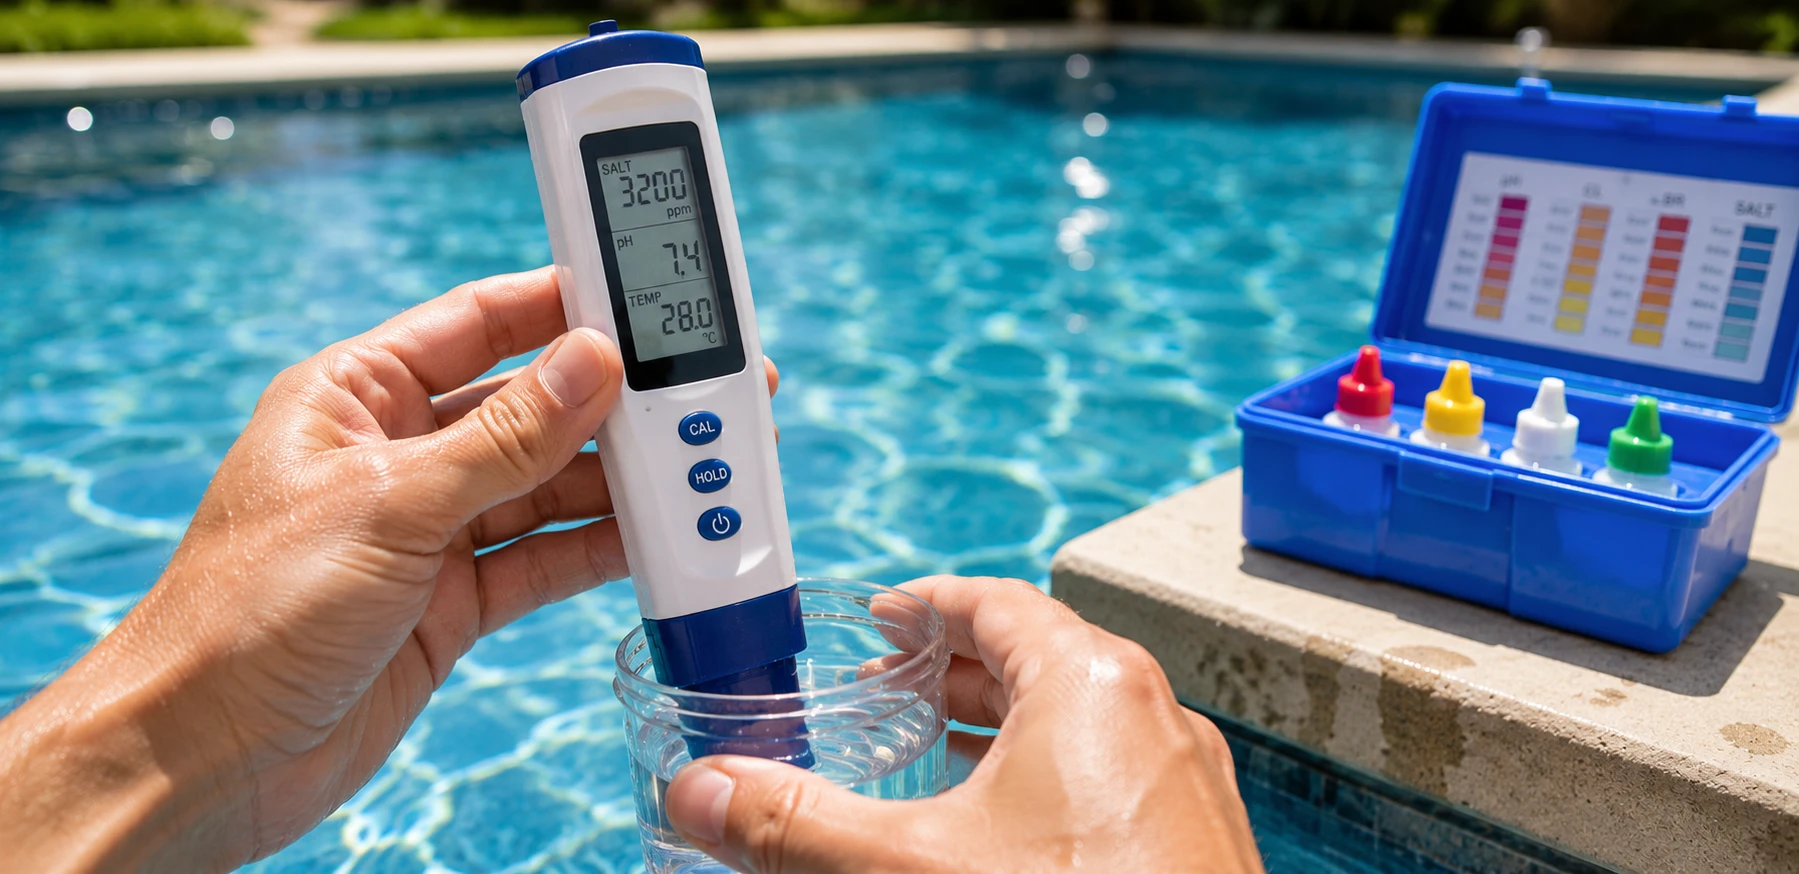
Test Baseline Salinity: Test your water’s baseline salinity level using a digital salt meter or salinity test strips. Tap water and existing pool water often contain several hundred parts per million of natural minerals, so knowing your starting point prevents over-salting.
Calculate Salt Requirement: Calculate how many 40-pound bags of salt you need to reach your target concentration, typically around 3,500 parts per million.
Select High-Purity Salt: Purchase pure, non-iodized pool salt with a purity rating of 99.5% or higher. Avoid using rock salt or salt containing anti-caking additives, as these additives can stain your pool surface.
Power Off the Salt Generator: Turn off electrical power to the salt chlorinator controller before adding salt, while keeping your main pool filter pump running continuously.
Broadcast Salt Around Pool: Walk around the perimeter of the pool and broadcast the salt evenly into the deep end, staying away from skimmer openings.
Brush Until Fully Dissolved: Use a pool brush to push undissolved salt around until it dissolves completely into the water. Never dump bags of salt directly into the skimmer box or main drain, as concentrated salt passing directly through the pump and filter can damage mechanical seals and internal components.
Circulate Water for 24 Hours: Allow your filter pump to run continuously for 24 hours after brushing the salt into the water. This extended pump run time distributes the salt evenly throughout the entire volume of pool water.
Power On the System: Once the 24-hour mixing period finishes, turn the salt chlorinator controller back on and set your desired chlorine output percentage.
An automatic salt water chlorinator for residential pool systems dramatically reduces everyday chores, but a few quick seasonal inspections will help keep your investment operating smoothly for its entire expected service life of 4 to 7 years.
Every month, visually inspect the transparent housing of your salt cell. Look between the titanium plates for any crusty, chalky white deposits. If the plates appear clean and dark, the self-cleaning reverse polarity feature is working effectively, and no manual cleaning is necessary. If you notice heavy white scale bridging the gaps between plates, it is time to perform a mild acid wash.
To clean a scaled salt cell safely, follow these step-by-step instructions:
Safety Preparation: Put on protective safety goggles and rubber gloves. Always perform chemical maintenance outdoors in a well-ventilated area.
Power Down and Isolate: Turn off the circuit breaker supplying power to your pool equipment pad. Close the plumbing isolation valves and unscrew the threaded unions on both sides of the cell to remove it from the plumbing line.
Mix the Cleaning Solution: In a clean plastic bucket, pour four parts fresh water first, then carefully add one part muriatic acid. Always add acid into water—never pour water into acid, as adding water to acid can cause dangerous chemical splashing.
Soak the Internal Plates: Attach a cell cleaning cap or stand to one end of the cell to seal it. Stand the cell upright and fill the interior with the diluted acid solution until the titanium plates are submerged. Allow the solution to soak for 10 to 15 minutes while the acid breaks down the calcium scale.
Rinse and Reinstall: Once the bubbling subsides and the scale dissolves, pour the solution into an approved disposal container. Rinse the interior of the cell thoroughly with a garden hose, reattach the cell to your plumbing line, and restore power.
Never scrape the internal plates with screwdrivers, metal putty knives, or wire brushes. The titanium plates are covered with a delicate micro-thin ruthenium coating that enables electrolysis. Scraping the plates strips off this coating, permanently damaging the cell.
Avoiding a few common operational missteps will ensure your salt chlorination system delivers reliable performance season after season:
Neglecting Sacrificial Anodes: Salt water increases electrical conductivity, which can accelerate galvanic corrosion on exposed metals like stainless steel pool ladders, light rims, and copper heater parts. Installing a zinc sacrificial anode on your equipment pad protects metal fixtures by attracting galvanic current away from high-value equipment.
Ignoring Salt Cell Sizing: Installing an undersized cell to save money up front leads to higher electricity bills and premature cell failure, as the unit must run constantly at 100% capacity to sanitize the pool.
Allowing Calcium Hardness to Spike: High calcium levels in your source water speed up scale formation inside the cell housing. Keeping your calcium hardness levels between 200 and 400 parts per million helps prevent rapid scaling.
Forgetting to Adjust Output Seasonally: Chlorine demand changes significantly with water temperature. Running your cell at high output during cool spring or autumn months wastes energy and creates excess chlorine. Lower your output percentage as water temperatures drop, and increase it as summer heat arrives.
Upgrading your pool care routine with an automatic salt water chlorinator for residential pool sanitization transforms backyard pool ownership. By shifting from manual chemical additions to automated, on-demand sanitization, you eliminate sudden chemical spikes, prevent chloramine buildup, and protect your family from handling dangerous chemical containers.
When you size your cell properly using the 1.5x rule, maintain proper cyanuric acid and pH levels, and perform gentle visual inspections, your automated salt chlorinator will reliably deliver clear, soft, and inviting water season after season. Investing in automated salt chlorination allows you to spend less time working on your pool equipment pad and more time enjoying your swimming pool with family and friends.